Cleaning Tips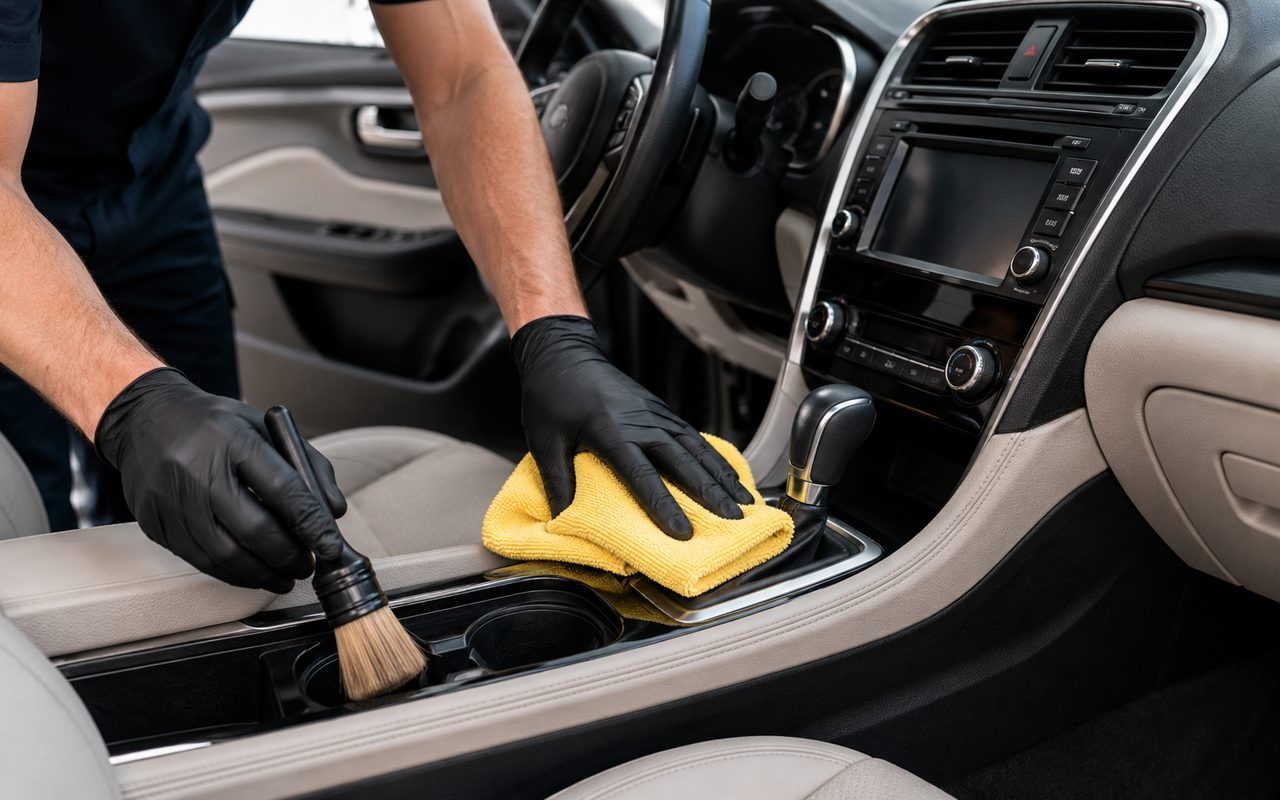
How to Clean Car Interior Like a Professional Detailer (Complete Guide)
·12 min read
Most people wipe down the dashboard, run a vacuum over the seats, and call the interior clean. Detailers do something different: they work top to bottom, hit every small surface, and use the right car detailing tools for the gap in front of them. The difference shows up in the air you breathe and the way the cabin feels after a long drive.
This guide walks through the same professional car interior cleaning process — the order detailers use, the materials they choose for each surface, and the small finishing moves that separate a quick tidy from a true detail. No special equipment, no expensive products, no all-day commitment.
Inside a car, dirt doesn't settle evenly. Dust rides air currents, so it piles up around vents, in seams, and along any vertical surface. Add skin oils, pet hair, food crumbs, and the dust becomes sticky. A microfiber cloth just smears it. A brush scatters it. A vacuum can't reach it.
Pro detailers treat the interior as a sequence of materials — each one with its own method. Soft plastics on the dashboard, fabric or leather on the seats, glass on the windows, and dozens of tiny gaps and seams that need their own tool. The sequence matters too: top to bottom, so falling dust doesn't re-soil a surface you just cleaned.
Pull everything out that doesn't belong — floor mats, water bottles, charging cables, gym bags. Shake out the mats outside the car. Vacuum any loose debris from the cabin floor before you touch the rest of the interior. A clean staging area makes every later step faster.
Stage your tools within arm's reach:
The dashboard is the most visible surface and the one that dusts the fastest. Detailers never spray cleaner directly onto the dash — overspray creeps into the instrument cluster, the infotainment screen, and the vent slats. Spray the towel instead.
Work in small sections. Dry-dust first with a clean microfiber to lift the loose layer. Then go back with a lightly dampened towel to remove the film. For textured plastic around the controls, use a soft brush in small circles to work the cleaner into the grain, then wipe clean.
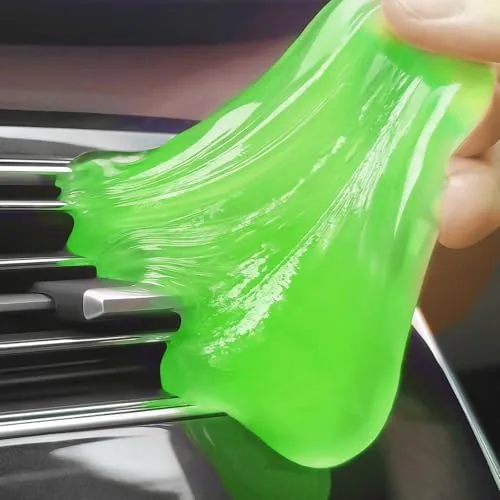
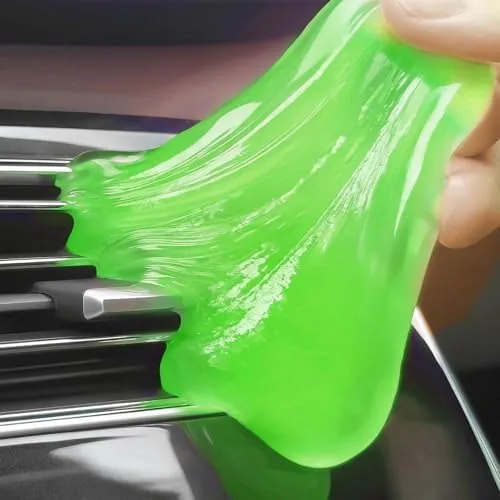
For the seams around the radio, climate controls, and the gap where the dash meets the windshield, a small piece of car cleaning gel pressed into the line pulls out the dust without scratching the plastic and without any liquid reaching the electronics behind it.
Car seats take the most body contact, so they collect skin oil, sweat, and crumbs fast. The cleaning method depends on the material.
Fabric seats: Vacuum thoroughly first, including the crevices between the seat back and the bottom cushion. For stains, work a small amount of fabric cleaner in with a soft brush, then wipe with a clean towel. Avoid soaking — moisture trapped in the foam takes days to dry and can breed odor.
Leather seats: Use a dedicated leather cleaner, not an all-purpose product. Apply to a microfiber, not the seat, and work in straight lines. Follow with a leather conditioner to keep the hide from drying out and cracking. Leather wants gentle, regular care, not aggressive scrubbing.
Door panels collect fingerprints, sunscreen, and dust along the armrest, the window switch cluster, and the door pocket. The door handle is one of the highest-touch surfaces in the entire car.
Wipe the hard plastic with a lightly dampened microfiber. For the textured plastic around the speaker grille and the door pull, use a soft detailing brush to lift dust out of the grain. For the seam where the door pocket meets the panel, and the rubber weatherstrip that runs along the door edge, car cleaning gel picks up what a towel leaves behind.
Cup holders are recessed, so spills settle at the bottom and stay there. Lift the rubber liner (if you have one) and clean it separately. Inside the holder, work a damp microfiber around the side walls, then press a piece of cleaning gel into the bottom and the seam where the cup holder meets the console. The gel lifts sticky residue and dust that wiping alone smears around.
The center console bin, the door pockets, and the small cubby by the gear shifter all benefit from the same treatment: vacuum the loose debris, then press gel into the corners and along the seams.
Dust inside the vent slats gets blown back onto the dashboard every time the A/C runs. It's also the most common cause of that stale-cabin smell.
Start with the ventilation off. Use a soft brush along the slats to loosen the dust, then press cleaning gel flat against each vent face. The gel pushes into the gap between every louver and pulls the dust back out with it — without any moisture entering the system. Work from the driver-side vent across to the passenger side, and don't forget the small vents on the rear of the center console if your car has them.
The steering wheel is the highest-touch surface in the car. Wipe it down with a lightly dampened microfiber — if it's leather, follow with leather conditioner. For the buttons on the wheel, the stalks behind it, and the window switches on the door, use small pieces of cleaning gel to dab into the seams around each button. Gel reaches the gaps a cloth can't, and it won't leave moisture on the switch contacts.
By this point, the surfaces are clean and the dust has fallen to the floor. Use a crevice attachment to vacuum:
For the seat-to-console gap, follow up the vacuum with a small piece of gel pressed down into the seam — it picks up what the vacuum blew past.
Glass is always last. By now any dust that was going to fall has fallen, and wiping the windows first would just smear it. Use a dedicated glass cleaner and a clean microfiber. Wipe in straight lines on the inside of the windshield to avoid streaks that catch the sun.
Most interior damage happens during cleaning, not driving. Avoid these:
Daily drivers benefit from a weekly quick pass — wipe the high-touch surfaces, empty trash, vacuum the floor. Once a month, do a deeper clean of the dashboard, seats, cup holders, and vents. Every three to six months, do a full detail like the one above.
The full detail takes about 90 minutes the first time. After the second pass, you'll have the sequence down to about an hour, and your cabin will stay consistently fresh.
Professional car detailing isn't about expensive soap. It's about working top to bottom, using the right tool for each surface, and finishing the small gaps that most people skip. The biggest upgrade isn't a new product — it's a car cleaning gel and a crevice attachment. Together, they let you reach every vent, every seam, and every button without sprays, without disassembly, and without scratching anything.
For a complete car interior cleaning routine, pair the cleaning gel with a stack of fresh microfiber towels and a soft detailing brush. The 3-pack gives you a dedicated color for the car, a dedicated color for the home, and a backup. Run through the steps above once a month and your cabin will stay cleaner than most people's exteriors.
Shop this post
The exact products mentioned in this article.
Cleaning Tips
Car detailing is more than a wash. Learn what detailing really means, why it protects your car's value, the DIY tips you can do at home, and how often to do it.
Cleaning Tips
From keyboard crevices to car vent louvers, the dust you can't see is the dust that gets everywhere. Here's how to clean the spots most people forget — in one bag, ten minutes, no disassembly.
Cleaning Tips
We tested both on a 3-year-old Toyota Camry with 18 months of dust buildup. The results were surprising.